
This is a short guide1 explaining how to set up Minecraft2 on a server running Ubuntu LTS 22.04. It might work on other Linux distributions, Ubuntu versions, or operating systems with modification.
This guide assumes you already have an Ubuntu server running with connection to the internet, and access to a terminal on the server. If Java isn’t installed, you may also need root access (though this mightn’t always be the case).
Installing Java
Before we download Minecraft, we need to set up Java. If you already have Java 17 or 8 installed, you can skip this step
If Java isn’t installed, or the Java version isn’t 17 or 8, you’ll need to install the correct Java. As Minecraft 1.17 and later require Java 17, we can install that in Ubuntu using apt:
sudo apt update # Apt may not find the package for Java otherwise
sudo apt install openjdk-17-jre-headless
If you’re using a Minecraft version before 1.17, swap out Java 17 for Java 8.
You might have an issue with multiple versions of Java being installed. You should check
what version you have with java --version, which should return something like this:
openjdk 17.0.9 2023-10-17 # or 8.X.X if you're using a Minecraft version before 1.17
OpenJDK Runtime Environment (build 17.0.9+9-Ubuntu-122.04)
OpenJDK 64-Bit Server VM (build 17.0.9+9-Ubuntu-122.04, mixed mode, sharing)
If it shows a different version, for example Java 11, we can change what version java
maps to with update-alternatives. Run update-alternatives --display java to get output
like this:
java - manual mode
  link best version is /usr/lib/jvm/java-17-openjdk-arm64/bin/java
  link currently points to /usr/lib/jvm/java-11-openjdk-arm64/bin/java
  link java is /usr/bin/java
  slave java.1.gz is /usr/share/man/man1/java.1.gz
/usr/lib/jvm/java-11-openjdk-arm64/bin/java - priority 1111
  slave java.1.gz: /usr/lib/jvm/java-11-openjdk-arm64/man/man1/java.1.gz
/usr/lib/jvm/java-17-openjdk-arm64/bin/java - priority 1711
  slave java.1.gz: /usr/lib/jvm/java-17-openjdk-arm64/man/man1/java.1.gz
Make note of the path that has java-8 or java-17 in it. Now we can change the Java
version using the following command, replacing the path to Java with the one you made
note of earlier:
sudo update-alternatives --set java /path/to/java/17/bin/java
Java should return the correct version now.
Making a user
For security reasons, we’re going to give our Minecraft server it’s own user.
If you have root access, this is pretty easy, otherwise ask your sysadmin for
help. We’ll make a new user using useradd as root:
sudo useradd minecraft --shell bash -m # `-m` creates a folder for the new user's file, `--shell bash` gives us an easier shell to work with.
Then we’ll switch to that user using sudo:
sudo -i -u minecraft
We can then create a folder to hold our Minecraft instance.
mkdir minecraft # you can name this whatever you want, just make sure to change the examples later
cd minecraft
Setting up Minecraft
Finally, Minecraft. To get the latest version of the server,
visit minecraft.net/download/server and
copy the link leading to minecraft_server.1.XX.X.jar (this will differ depending on what
the latest version is).
Inside your newly-created folder, run wget https://piston-data.mojang.com/server.jar,
replacing the link with the one you copied. Now we can run this jar file:
java -Xmx1024M -Xms1024M -jar minecraft_server.1.XX.X.jar nogui #replace the filename with the name of the file you downloaded.
The -Xmx and -Xms arguments set the amount of RAM available to the server. 1GB is
the minimum you should set, and I recommend to increase this if possible. The server should
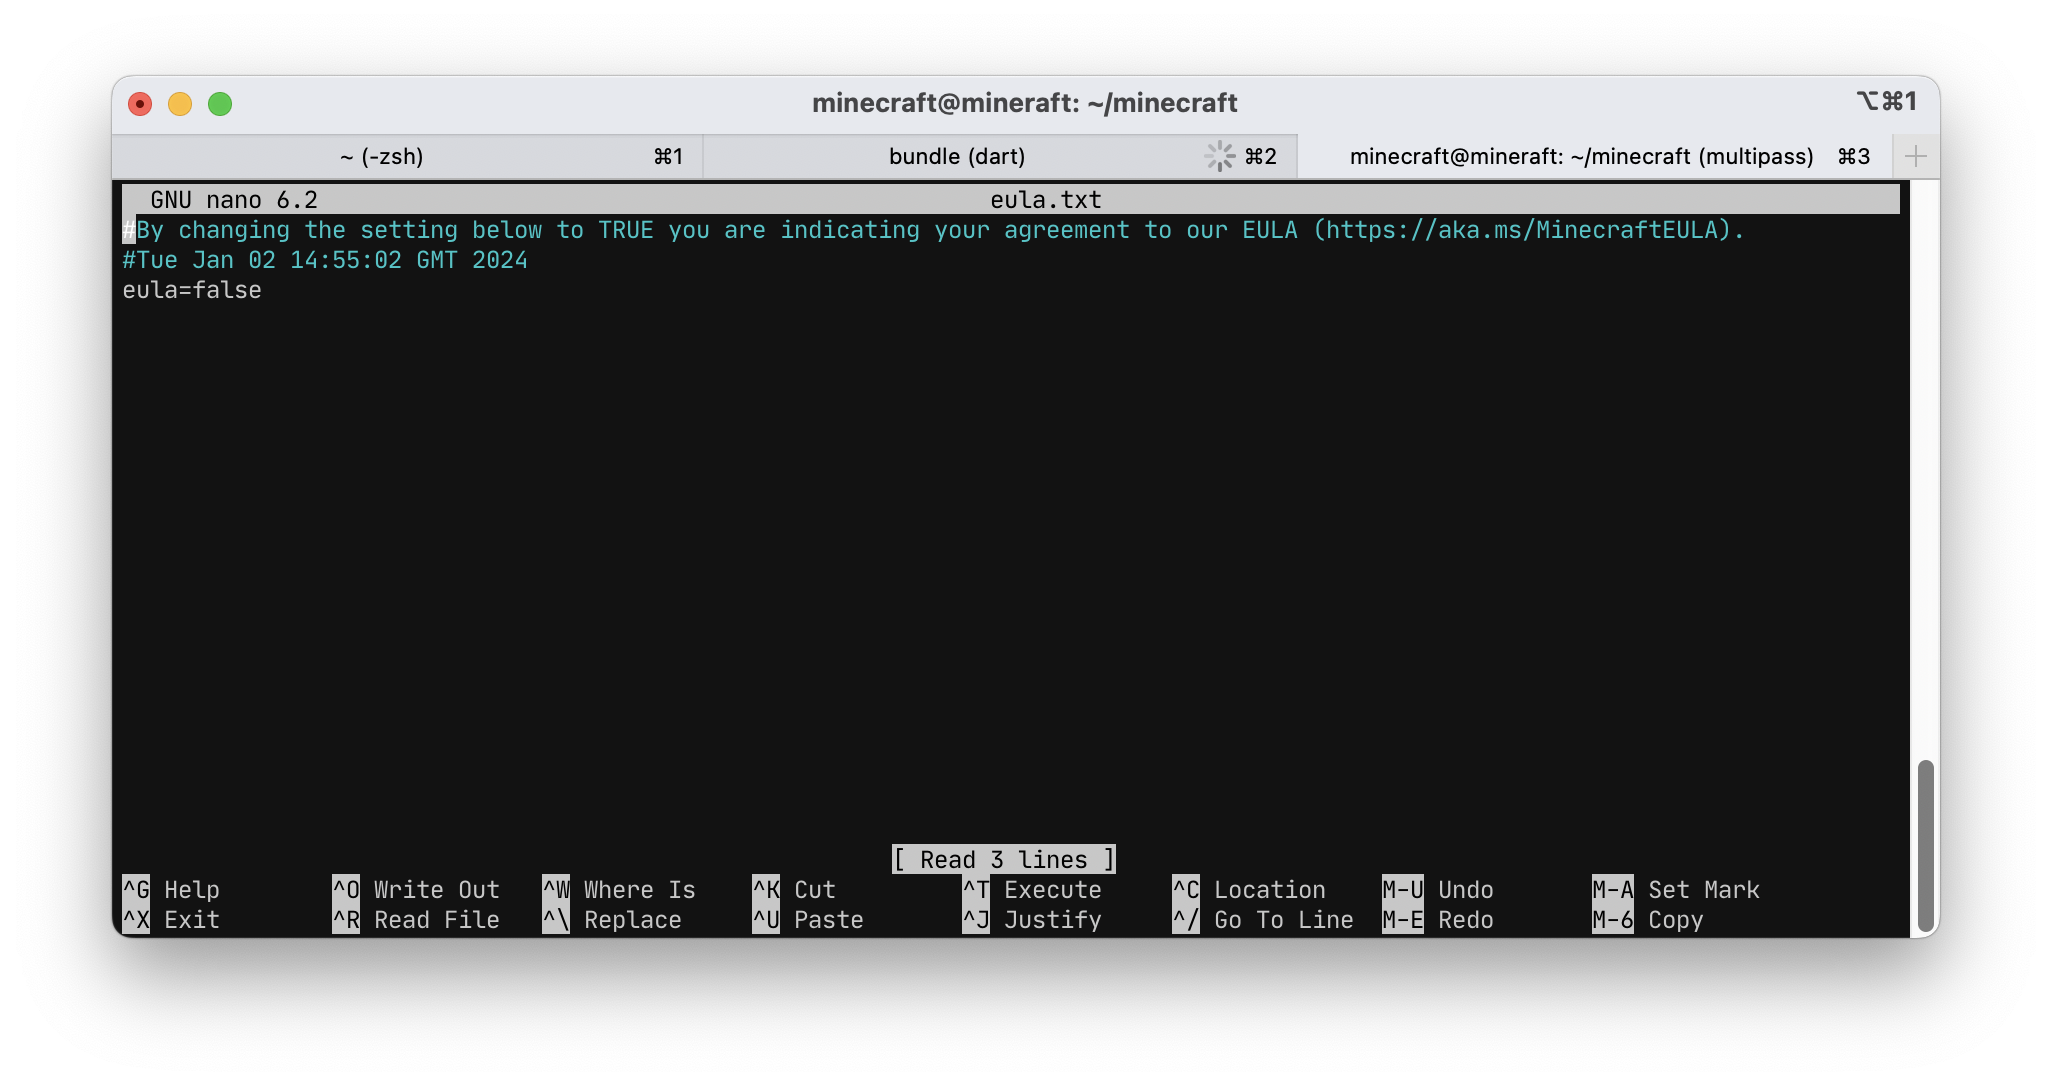
close after saying You need to agree to the EULA in order to run the server. Go to eula.txt for more info.
After reading the EULA, use a text editor like nano to
modify the eula.txt file that was created in that folder, and change the line reading
eula=false to eula=true.
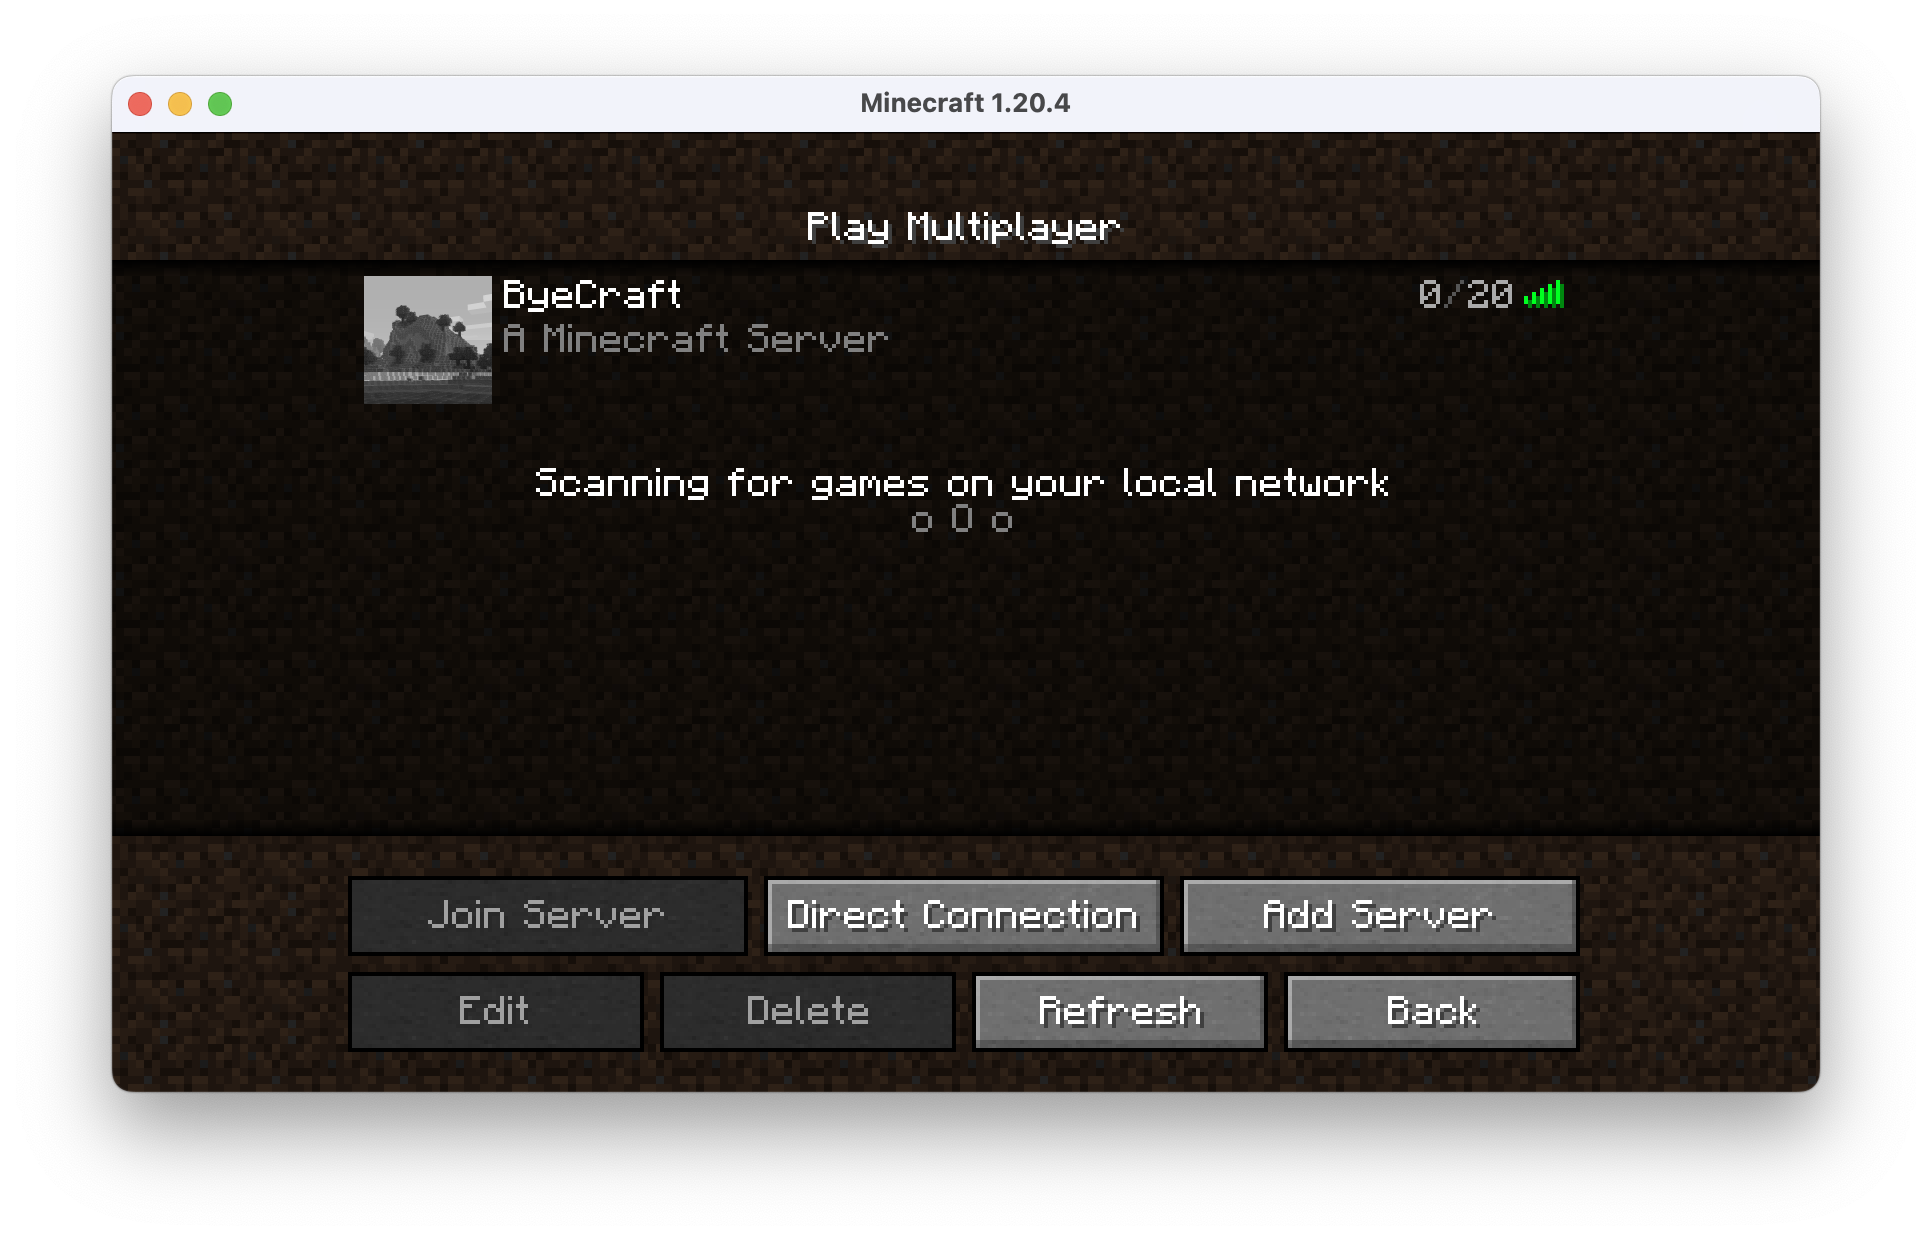
Run the server jar again, and it should start generating a world. While it’s doing this,
you should get the IP address for your server. The method for doing this differs depending
on how you’re running the server. If it’s on your network, use it’s local IP. If you’re
using a VPS, use the VPS’ public IP. If you’re using a virtual machine like I am, use
the IP address the VM software gives you. When you put this into Minecraft, it should
fill in the MOTD as “A Minecraft Server” and show 0 of 20 players, like in my screenshot.
You can change all of these and more in the server.properties file.
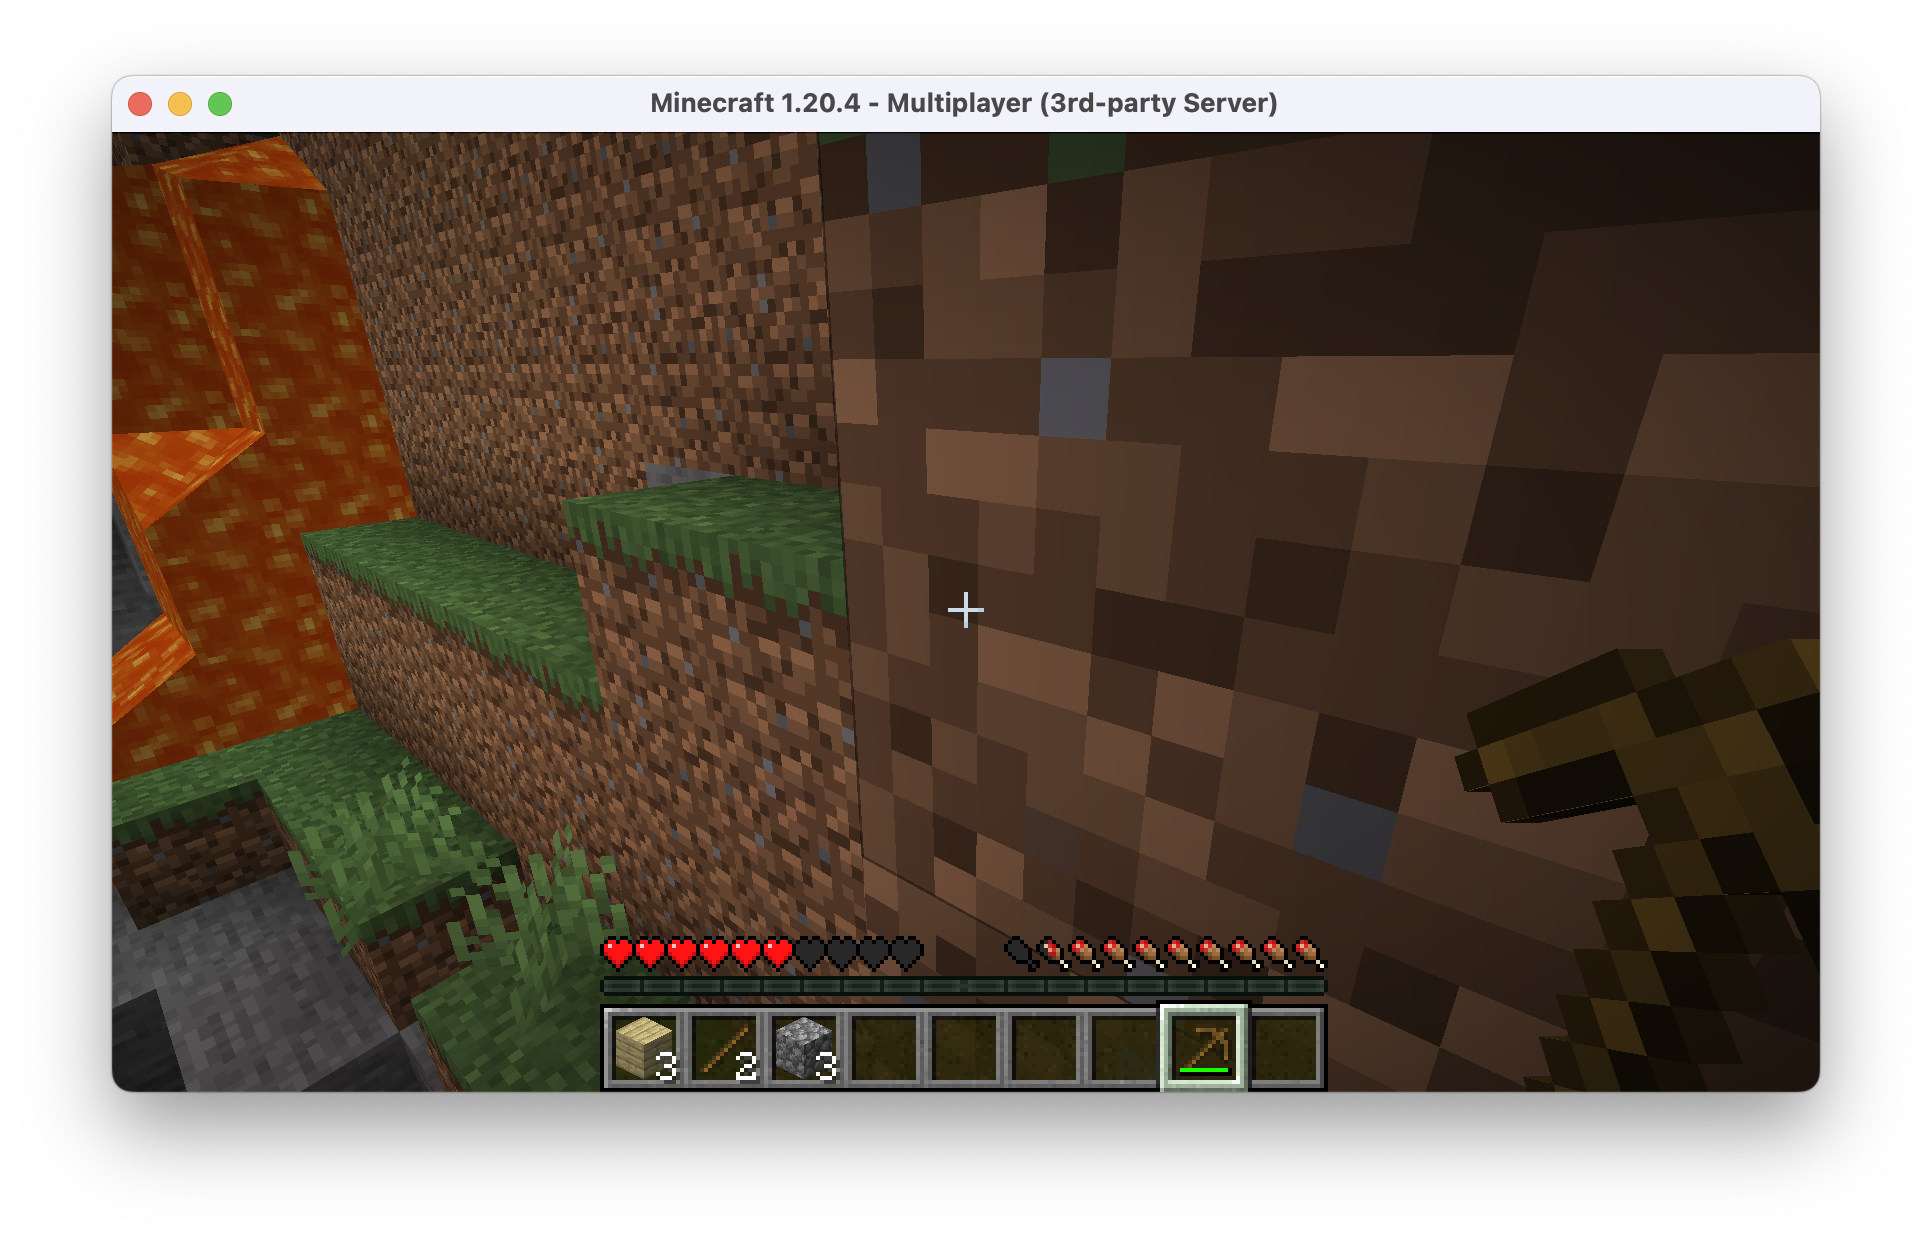
You should be able to join the server now, and be able to run commands as op in the terminal window.
That’s the basics! There’s a lot more you can do configuration-wise, such as securing the server for opening to the wider internet or using modified server jars (Paper, Spigot, the like). Maybe I’ll make more blog posts like this one if you’ve found it useful!